반응형
vagrant 설치 및 ubuntu 서버 배포
원도우 패키지 관리자 설치(CHOCOLATEY)
요구 사항
- Windows 7+ / Windows Server 2003+
- PowerShell v2+ (minimum is v3 for install from this website due to TLS 1.2 requirement)
- .NET Framework 4+
Windows PowerShell(오른쪽 마우스 클릭) > 관리자 권한으로 실행

chocolatey 설치
Set-ExecutionPolicy Bypass -Scope Process -Force; [System.Net.ServicePointManager]::SecurityProtocol = [System.Net.ServicePointManager]::SecurityProtocol -bor 3072; iex ((New-Object System.Net.WebClient).DownloadString('https://community.chocolatey.org/install.ps1'))chocolatey 버전 확인(choco 버전)
> choco --version
1.1.0
chocolatey 업그레이드
choco upgrade chocolateyvirtualbox 설치
virtualbox install
choco install virtualbox728x90
vagrant 설치 및 ubuntu 서버 배포
vagrant install
choco install vagrant> vagrant --version
Vagrant 2.2.19vagrant boxes search
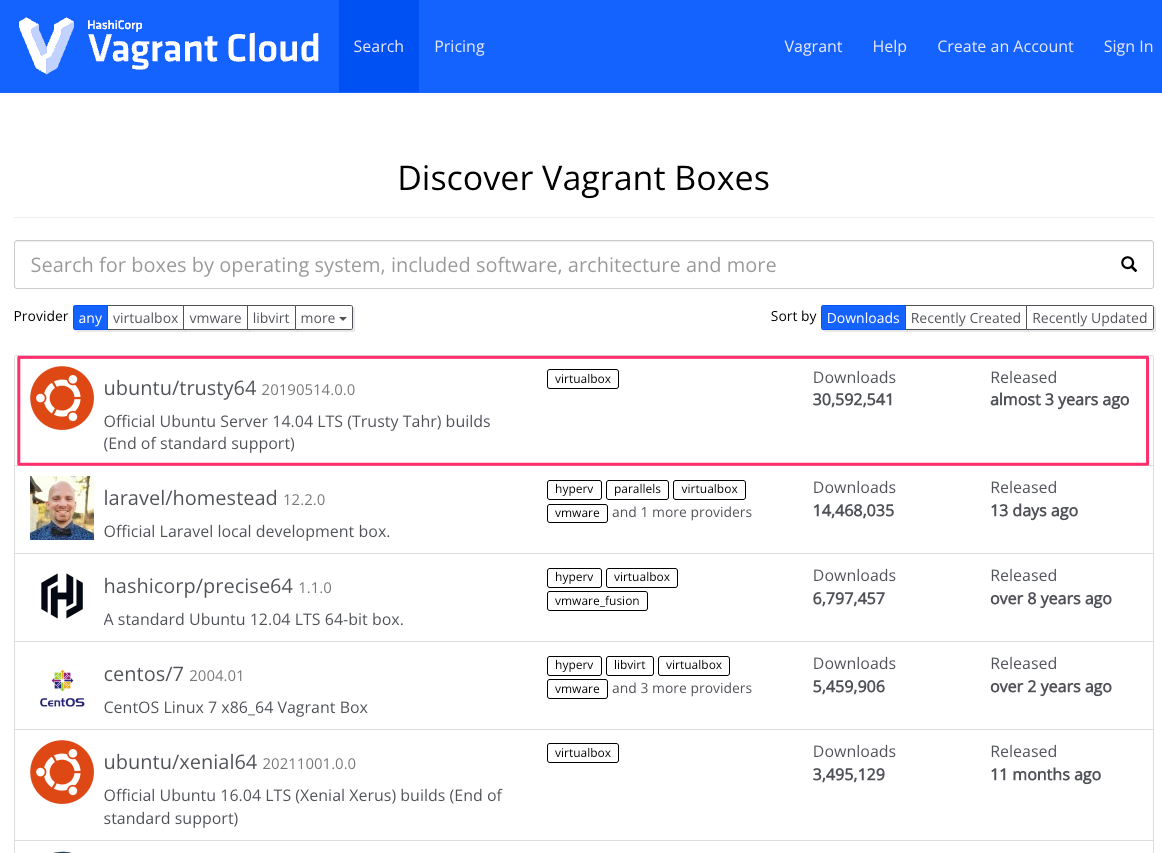
box 이미지 다운로드
- ubuntu 22.04(jammy64)
vagrant box add ubuntu/jammy64- ubuntu 20.04(focal64)
vagrant box add ubuntu/focal64vagrant init(Vagrantfile 생성)
vagrant init ubuntu/focal64Vagrantfile Sample
더보기
vim Vagrantfile# -*- mode: ruby -*-
# vi: set ft=ruby :
# All Vagrant configuration is done below. The "2" in Vagrant.configure
# configures the configuration version (we support older styles for
# backwards compatibility). Please don't change it unless you know what
# you're doing.
Vagrant.configure("2") do |config|
# The most common configuration options are documented and commented below.
# For a complete reference, please see the online documentation at
# https://docs.vagrantup.com.
# Every Vagrant development environment requires a box. You can search for
# boxes at https://vagrantcloud.com/search.
config.vm.box = "ubuntu/jammy64"
# Disable automatic box update checking. If you disable this, then
# boxes will only be checked for updates when the user runs
# `vagrant box outdated`. This is not recommended.
# config.vm.box_check_update = false
# Create a forwarded port mapping which allows access to a specific port
# within the machine from a port on the host machine. In the example below,
# accessing "localhost:8080" will access port 80 on the guest machine.
# NOTE: This will enable public access to the opened port
# config.vm.network "forwarded_port", guest: 80, host: 8080
# Create a forwarded port mapping which allows access to a specific port
# within the machine from a port on the host machine and only allow access
# via 127.0.0.1 to disable public access
# config.vm.network "forwarded_port", guest: 80, host: 8080, host_ip: "127.0.0.1"
# Create a private network, which allows host-only access to the machine
# using a specific IP.
# config.vm.network "private_network", ip: "192.168.33.10"
# Create a public network, which generally matched to bridged network.
# Bridged networks make the machine appear as another physical device on
# your network.
# config.vm.network "public_network"
# Share an additional folder to the guest VM. The first argument is
# the path on the host to the actual folder. The second argument is
# the path on the guest to mount the folder. And the optional third
# argument is a set of non-required options.
# config.vm.synced_folder "../data", "/vagrant_data"
# Disable the default share of the current code directory. Doing this
# provides improved isolation between the vagrant box and your host
# by making sure your Vagrantfile isn't accessable to the vagrant box.
# If you use this you may want to enable additional shared subfolders as
# shown above.
# config.vm.synced_folder ".", "/vagrant", disabled: true
# Provider-specific configuration so you can fine-tune various
# backing providers for Vagrant. These expose provider-specific options.
# Example for VirtualBox:
#
# config.vm.provider "virtualbox" do |vb|
# # Display the VirtualBox GUI when booting the machine
# vb.gui = true
#
# # Customize the amount of memory on the VM:
# vb.memory = "1024"
# end
#
# View the documentation for the provider you are using for more
# information on available options.
# Enable provisioning with a shell script. Additional provisioners such as
# Ansible, Chef, Docker, Puppet and Salt are also available. Please see the
# documentation for more information about their specific syntax and use.
# config.vm.provision "shell", inline: <<-SHELL
# apt-get update
# apt-get install -y apache2
# SHELL
end
Vagrantfile 편집
vim VagrantfileVagrant.configure("1") do |config|
config.vm.box = "ubuntu/jammy64" # 사용할 가상 머신 이미지
config.vm.network "private_network", ip: "192.168.56.101" # 가상 머신의 IP 주소
config.vm.provider "virtualbox" do |vb|
vb.memory = "2048" # 가상 머신의 메모리 크기
vb.cpus = 2 # 가상 머신의 CPU 개수
end
config.vm.provision "shell", inline: <<-SHELL
# 가상 머신 프로비저닝에 필요한 스크립트 작성
# 예시: 패키지 설치 및 설정 등
apt-get update
apt-get install -y apache2
systemctl start apache2
SHELL
endvagrant validate
vagrant validate$ vagrant validate
Vagrantfile validated successfully.vagrant-vbguest 플러그인 설치
vagrant plugin install vagrant-vbguestvagrant plugin list$ vagrant plugin list
vagrant-vbguest (0.31.0, global)Vagrantfile 편집
vim VagrantfileVagrant.configure("2") do |config|
config.vm.box = "ubuntu/jammy64" # 사용할 가상 머신 이미지
if Vagrant.has_plugin?("vagrant-vbguest") then
config.vbguest.auto_update = false
end
config.vm.network "private_network", ip: "192.168.33.101" # 가상 머신의 IP 주소
config.vm.provider "virtualbox" do |vb|
vb.memory = "2048" # 가상 머신의 메모리 크기
vb.cpus = 2 # 가상 머신의 CPU 개수
end
config.vm.provision "shell", inline: <<-SHELL
# 가상 머신 프로비저닝에 필요한 스크립트 작성
# 예시: 패키지 설치 및 설정 등
apt-get update
apt-get install -y apache2
systemctl start apache2
SHELL
endvagrant validate
$ vagrant validate
Vagrantfile validated successfully.vagrant up(provisioning)
vagrant upvagrant status
vagrant status> vagrant status
Current machine states:
default running (virtualbox)vagrant ssh(ubuntu 가상머신에 ssh로 접속)
vagrant ssh default> vagrant ssh default
Welcome to Ubuntu 20.04.4 LTS (GNU/Linux 5.4.0-124-generic x86_64)
* Documentation: https://help.ubuntu.com
* Management: https://landscape.canonical.com
* Support: https://ubuntu.com/advantage
System information as of Mon Aug 22 11:48:51 UTC 2022
System load: 0.08 Processes: 120
Usage of /: 3.5% of 38.70GB Users logged in: 0
Memory usage: 20% IPv4 address for enp0s3: 10.0.2.15
Swap usage: 0%
1 update can be applied immediately.
To see these additional updates run: apt list --upgradable
New release '22.04.1 LTS' available.
Run 'do-release-upgrade' to upgrade to it.
vagrant@ubuntu-focal:~$vagrant halt(ubuntu 가상머신 종료)
vagrant halt default> vagrant halt default
==> default: Attempting graceful shutdown of VM...vagrant destroy(ubuntu 가상머신 삭제)
vagrant destroy default> vagrant destroy default
default: Are you sure you want to destroy the 'default' VM? [y/N] y
==> default: Destroying VM and associated drives...
참고URL
- chocolatey : https://chocolatey.org/install#individual
- vagrant : https://community.chocolatey.org/packages/vagrant
- virtualbox : https://community.chocolatey.org/packages/virtualbox
- vagrant boxes search : https://app.vagrantup.com/boxes/search
728x90
반응형
'원도우' 카테고리의 다른 글
| 원도우 11 wsl와 vscode연동하기 (0) | 2022.10.31 |
|---|---|
| 원도우 11에서 WSL 명령의 간단한 설명과 사용 예시 (0) | 2022.10.27 |
| Windows 11에서 검색 웹 결과를 비활성화하는 방법 (0) | 2022.08.15 |
| 원도우 11의 CMD에서 doskey 명령어를 사용하여 Bash 스타일의 alias 명령어를 사용하는 방법 (0) | 2022.07.19 |
| 윈도우11 docker 설치(WSL2 설치) (0) | 2022.07.15 |


