InfluxDB, Grafana 및 Telegraf를 사용하여 모니터링 시스템을 구성하기
테스트 환경
$ lsb_release -d
Description:	Ubuntu 22.04.1 LTS
1. InfluxDB 설치 및 구성
InfluxDB는 시계열 데이터베이스입니다. 따라서 모니터링 시스템에서 데이터를 저장하는 데 사용됩니다. InfluxDB를 설치하려면 다음 단계를 수행합니다.
GPG key 추가
wget -q https://repos.influxdata.com/influxdata-archive_compat.keyInfluxDB 패키지 저장소를 apt에 추가
echo '393e8779c89ac8d958f81f942f9ad7fb82a25e133faddaf92e15b16e6ac9ce4c influxdata-archive_compat.key' | sha256sum -c && cat influxdata-archive_compat.key | gpg --dearmor | sudo tee /etc/apt/trusted.gpg.d/influxdata-archive_compat.gpg > /dev/nullecho 'deb [signed-by=/etc/apt/trusted.gpg.d/influxdata-archive_compat.gpg] https://repos.influxdata.com/debian stable main' | sudo tee /etc/apt/sources.list.d/influxdata.list$ cat /etc/apt/sources.list.d/influxdata.list
deb [signed-by=/etc/apt/trusted.gpg.d/influxdata-archive_compat.gpg] https://repos.influxdata.com/debian stable mainapt 업데이트
sudo apt-get updateInfluxDB 2.0 패키지 설치
sudo apt-get install -y influxdb2 influxdb2-cli$ dpkg -L influxdb2
/.
/usr
/usr/share
/usr/share/doc
/usr/share/doc/influxdb2
/usr/share/doc/influxdb2/changelog.gz
/usr/share/influxdb
/usr/share/influxdb/influxdb2-upgrade.sh
/usr/lib
/usr/lib/influxdb
/usr/lib/influxdb/scripts
/usr/lib/influxdb/scripts/influxd-systemd-start.sh
/usr/lib/influxdb/scripts/influxdb.service
/usr/lib/influxdb/scripts/init.sh
/usr/bin
/usr/bin/influxd
/etc
/etc/logrotate.d
/etc/logrotate.d/influxdbInfluxDB를 구성하려면 /etc/influxdb/influxdb.conf 파일을 수정하여 데이터베이스 이름, 사용자 이름 및 비밀번호 등을 설정합니다.
$ influxd version
InfluxDB v2.6.1 (git: 9dcf880fe0) build_date: 2022-12-29T15:53:07Z
Influxdb 서비스 시작 및 활성화
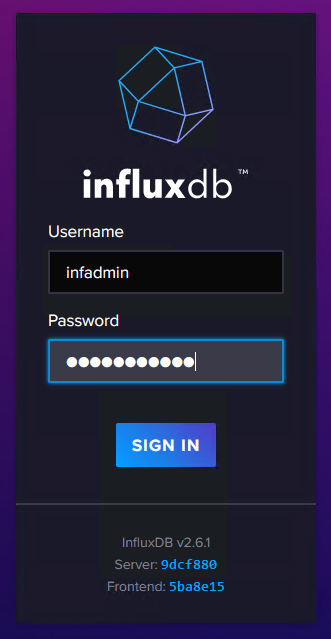
sudo systemctl --now enable influxdbInfluxDB 설정
influx setup- Please type your primary username infadmin
- Please type your password ***********
- Please type your password again ***********
- Please type your primary organization name scbyun.com
- Please type your primary bucket name b-bucket
- Please type your retention period in hours, or 0 for infinite 0
- Setup with these parameters?
$ influx setup
> Welcome to InfluxDB 2.0!
? Please type your primary username infadmin
? Please type your password ***********
? Please type your password again ***********
? Please type your primary organization name scbyun.com
? Please type your primary bucket name b-bucket
? Please type your retention period in hours, or 0 for infinite 0
? Setup with these parameters?
  Username:          infadmin
  Organization:      scbyun.com
  Bucket:            b-bucket
  Retention Period:  infinite
 Yes
User		Organization	Bucket
infadmin	scbyun.com	b-bucket
$ cat /etc/influxdb/config.toml
bolt-path = "/var/lib/influxdb/influxd.bolt"
engine-path = "/var/lib/influxdb/engine"#InfluxDB에서 사용자 계정 및 패스워드를 생성하는 방법
↓↓↓ influx v2 shell ↓↓↓
d
org(organization) 생성
influx org create --name influxdb-orgorg(organization) 목록 확인
$ influx org list
ID			Name
2d047cb0ce43b261	scbyun.com
92cee05d50af53bb	influxdb-org
사용자 생성
influx user create -n influx -p influxpw -o influxdb-org사용자 보기
$ influx user list
ID			Name
0ad0d772fc018000	infadmin
0ad0dcb697818000	influx
d
↓↓↓ influx v1 shell ↓↓↓
데이터베이스 생성
CREATE DATABASE telegrafdb데이터베이스 목록 확인
SHOW DATABASES> SHOW DATABASES
name: databases
name
----
_internal
telegraf
telegrafdb데이터베이스 선택
USE telegrafdb사용자 생성
CREATE USER telegraf WITH PASSWORD 'telegrafpw'사용자 목록 확인
SHOW USERS> SHOW USERS
user admin
---- -----
influxdb false
telegraf false사용자에게 권한 부여
GRANT WRITE ON telegrafdb TO telegraf사용자 권한 확인
SHOW GRANTS FOR telegraf> SHOW GRANTS FOR telegraf
database privilege
-------- ---------
telegrafdb WRITE
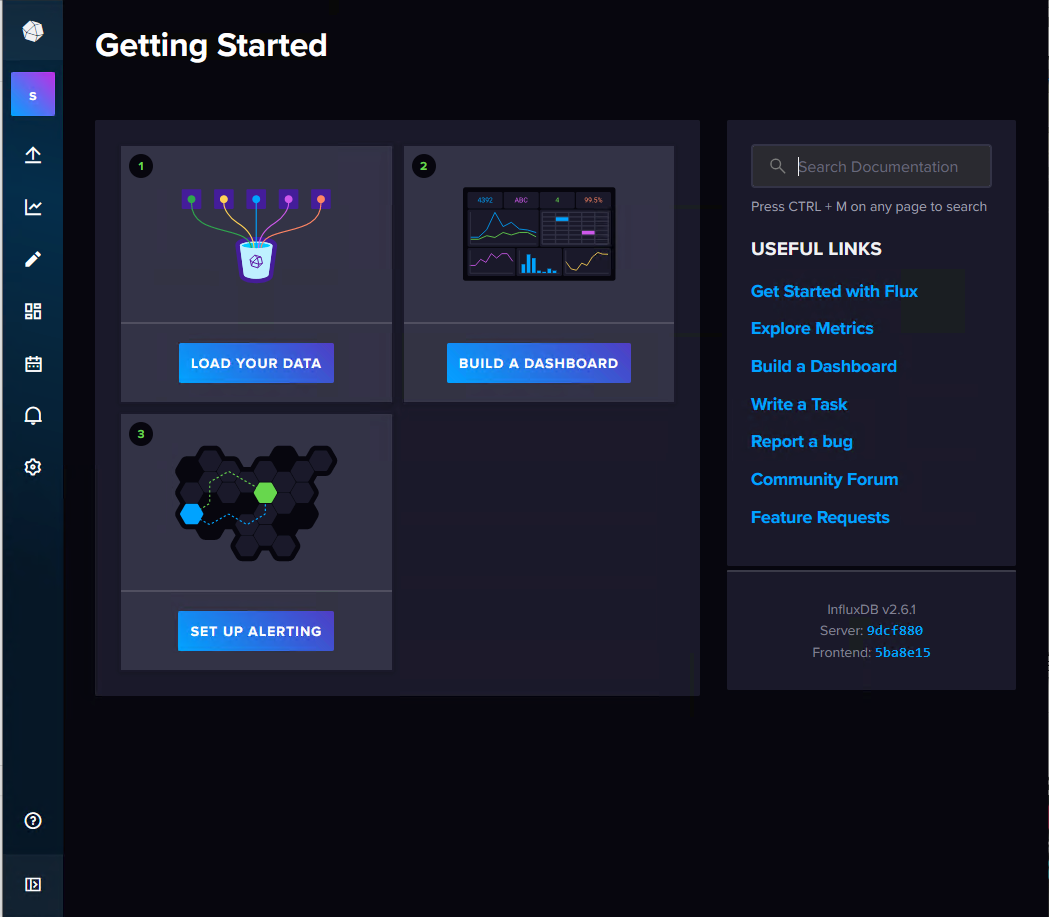
browser : http://server-ip-address:8086
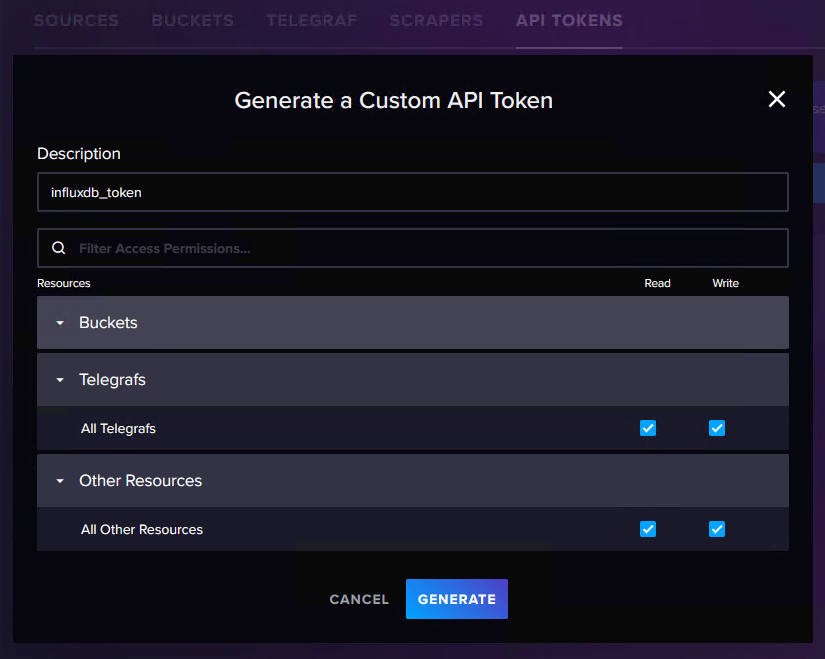
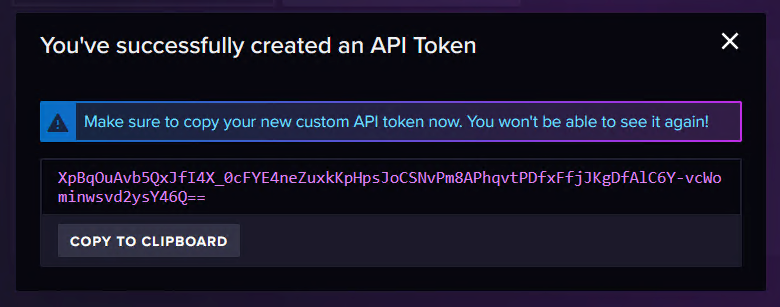
API Token 생성

INFLUXDB OUTPUT PLUGIN, CREATE CONFIGURATION 생성
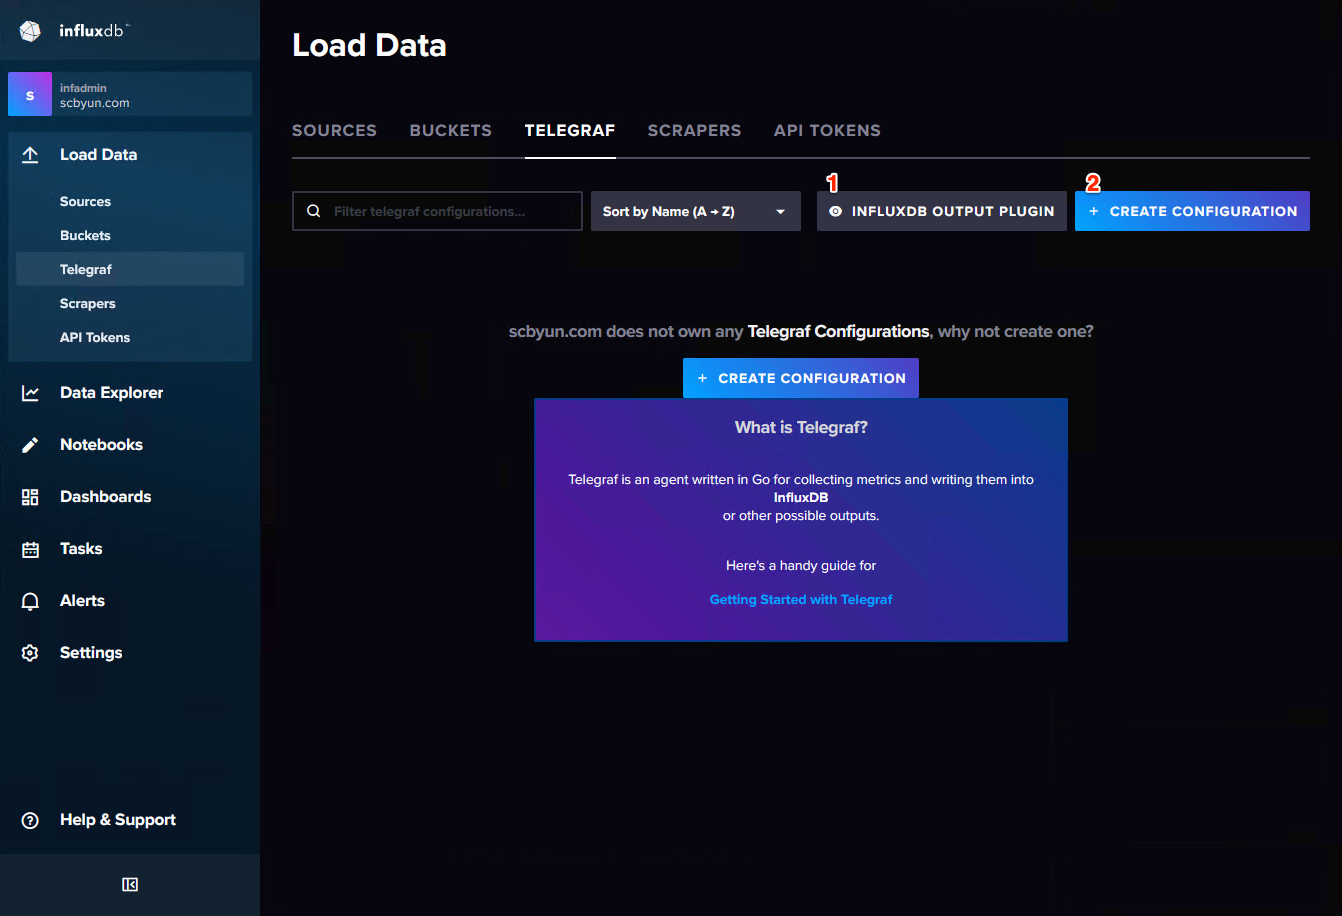
1. INFLUXDB OUTPUT PLUGIN
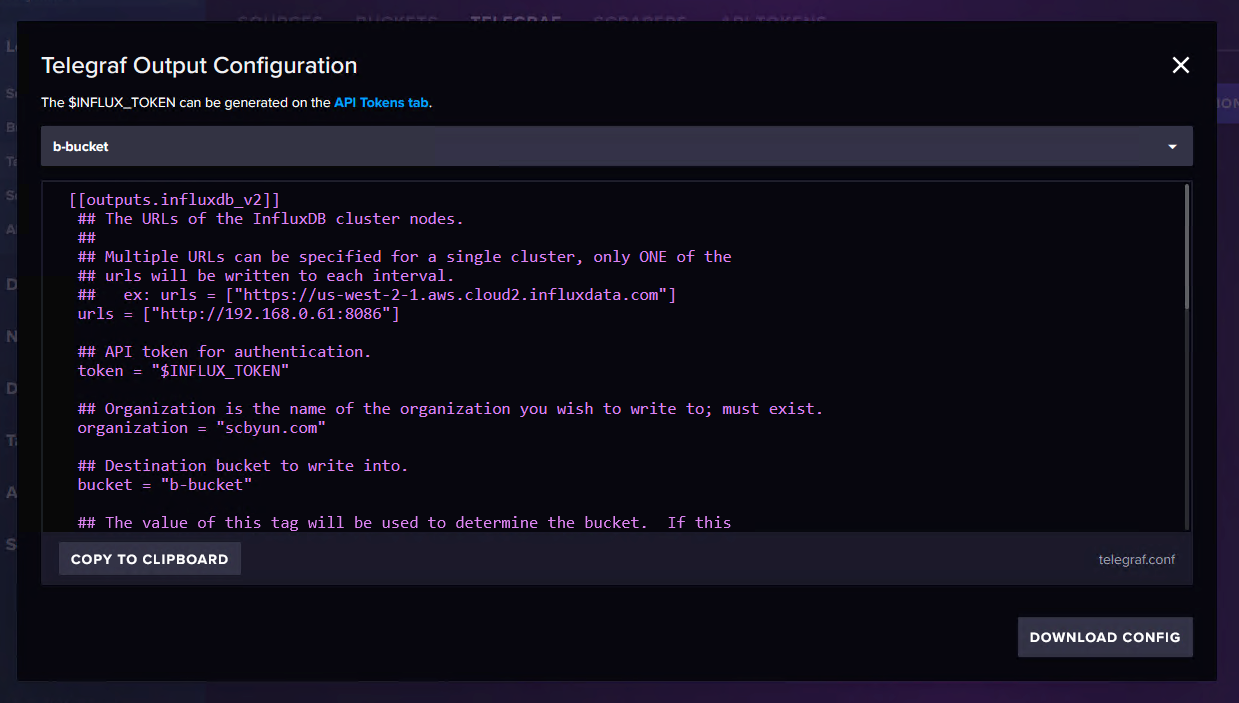
 [[outputs.influxdb_v2]]
  ## The URLs of the InfluxDB cluster nodes.
  ##
  ## Multiple URLs can be specified for a single cluster, only ONE of the
  ## urls will be written to each interval.
  ##   ex: urls = ["https://us-west-2-1.aws.cloud2.influxdata.com"]
  urls = ["http://192.168.0.61:8086"]

  ## API token for authentication.
  token = "$INFLUX_TOKEN"

  ## Organization is the name of the organization you wish to write to; must exist.
  organization = "scbyun.com"

  ## Destination bucket to write into.
  bucket = "b-bucket"

  ## The value of this tag will be used to determine the bucket.  If this
  ## tag is not set the 'bucket' option is used as the default.
  # bucket_tag = ""

  ## If true, the bucket tag will not be added to the metric.
  # exclude_bucket_tag = false

  ## Timeout for HTTP messages.
  # timeout = "5s"

  ## Additional HTTP headers
  # http_headers = {"X-Special-Header" = "Special-Value"}

  ## HTTP Proxy override, if unset values the standard proxy environment
  ## variables are consulted to determine which proxy, if any, should be used.
  # http_proxy = "http://corporate.proxy:3128"

  ## HTTP User-Agent
  # user_agent = "telegraf"

  ## Content-Encoding for write request body, can be set to "gzip" to
  ## compress body or "identity" to apply no encoding.
  # content_encoding = "gzip"

  ## Enable or disable uint support for writing uints influxdb 2.0.
  # influx_uint_support = false

  ## Optional TLS Config for use on HTTP connections.
  # tls_ca = "/etc/telegraf/ca.pem"
  # tls_cert = "/etc/telegraf/cert.pem"
  # tls_key = "/etc/telegraf/key.pem"
  ## Use TLS but skip chain & host verification
  # insecure_skip_verify = false
2. CREATE CONFIGURATION
2. Telegraf 설치 및 구성
Telegraf는 데이터 수집기로서 다양한 데이터 소스에서 데이터를 수집하고 InfluxDB에 전송합니다. Telegraf를 설치하려면 다음 단계를 수행합니다.
sudo apt-get updatesudo apt-get install -y telegrafvim /etc/telegraf/telegraf.confTelegraf를 구성하려면 /etc/telegraf/telegraf.conf 파일을 수정하여 데이터 소스 및 InfluxDB 연결 정보를 설정합니다.
$ telegraf version
Telegraf 1.21.4+ds1-0ubuntu2
Telegraf 구성
Telegraf를 구성하여 InfluxDB와 통신하도록 설정합니다. /etc/telegraf/telegraf.conf 파일을 열고 다음 구성을 추가합니다.
vim /etc/telegraf/telegraf.conf[[outputs.influxdb]]
urls = ["http://localhost:8086"]
database = "telegraf"
username = "username"
password = "password"Telegraf를 재실행합니다
systemctl restart telegraf3. Grafana 설치 및 구성
Grafana는 시계열 데이터를 시각화하고 대시 보드를 만드는 데 사용됩니다. Grafana를 설치하려면 다음 단계를 수행합니다.
sudo apt-get updatesudo apt-get install -y adduser libfontconfig1wget https://dl.grafana.com/oss/release/grafana_8.2.0_amd64.debsudo dpkg -i grafana_8.2.0_amd64.debvim /etc/grafana/grafana.ini$ grafana-server -v
Version 8.2.0 (commit: d7f71e9eae, branch: HEAD)systemctl start grafana-serverGrafana를 구성하려면 브라우저에서 Grafana URL에 액세스하여 로그인하고 InfluxDB를 데이터 소스로 추가합니다. 그런 다음 대시 보드를 만들고 시계열 데이터를 시각화합니다.
이렇게 구성된 InfluxDB, Telegraf 및 Grafana는 모니터링 시스템을 구축하는 데 사용됩니다. Telegraf를 사용하여 데이터를 수집하고 InfluxDB에 저장한 다음 Grafana를 사용하여 데이터를 시각화하고 대시 보드를 만들 수 있습니다.
참고URL
- InfluxData - Package Repository : https://repos.influxdata.com/
- Create a user: https://docs.influxdata.com/influxdb/v2.6/users/create-user/
- influx org create : https://docs.influxdata.com/influxdb/v2.6/reference/cli/influx/org/create/
'리눅스' 카테고리의 다른 글
| [리눅스] MySQL replication을 이용한 고가용성 및 장애복구 솔루션(MMM, MHA) (0) | 2023.03.01 |
|---|---|
| MySQL 리플리케이션(mysql replication) 설정 방법 (0) | 2023.03.01 |
| [리눅스] dnstop 명령어 설치 및 사용 방법 (0) | 2023.02.27 |
| [리눅스] systemd의 로깅 설정을 변경하기 (0) | 2023.02.26 |
| [리눅스] td-agent plugin(out_fluentd 플러그인) (0) | 2023.02.22 |


